


EREBUS: Stained Sea
Cinematic Animation Breakdown


01_INTRODUCTION
In this breakdown, I would like to showcase the work I did on the cinematic sequence created for the Erebus: Stained Sea technical demo.
The sequence was designed as a Quick Time Event (QTE), during which the protagonist Erebus is ambushed by the Grendel after unknowingly crossing into its lair.
The cinematic was animated in Maya before being integrated into Unreal Engine 5, where I further went to refine the camera work. I was also responsible for the lighting and post-processing of the sequence.
My objective here is to not only breakdown my animation, but more largely, I also want to share what I learned from this experience, as this was my first time working as an animator within a collaborative production environment, I had to learn working and coordinating with the rigging artist as both character rigs were being developed alongside the animation. Taking full ownership of a full sequence for the first time also allowed me to learn the Maya-to-Unreal workflow and to ensure that the sequence remained fully compatible with gameplay integration requirements.
02_LOCOMOTION TESTS
Behind every animation, there is a rig. The first step of my work was to collaborate with the rigger and define together the requirements for the creature's animation. Starting from the concept art and the first sculpt iterations, I gathered a selection of references while a first animable version of the rig was under production.
Credit to video authors
I then started working on locomotion tests for the creature. At the time, the Grendel was originally intended to move freely within the game, and both the rigging and animation work were being developed with that goal in mind.
Although this feature was eventually cut from the final scope, these locomotion tests proved to be valuable, because they allowed me to explore how this bizarre anatomy should move and research real-world anatomical references that could support the creature's design.
I also gradually build a library of anims and poses using Studio Library.
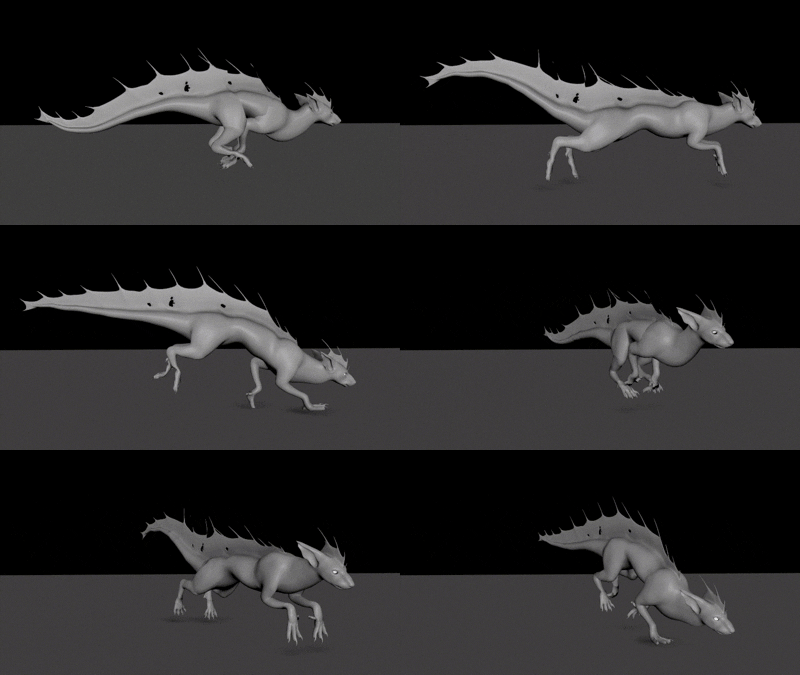
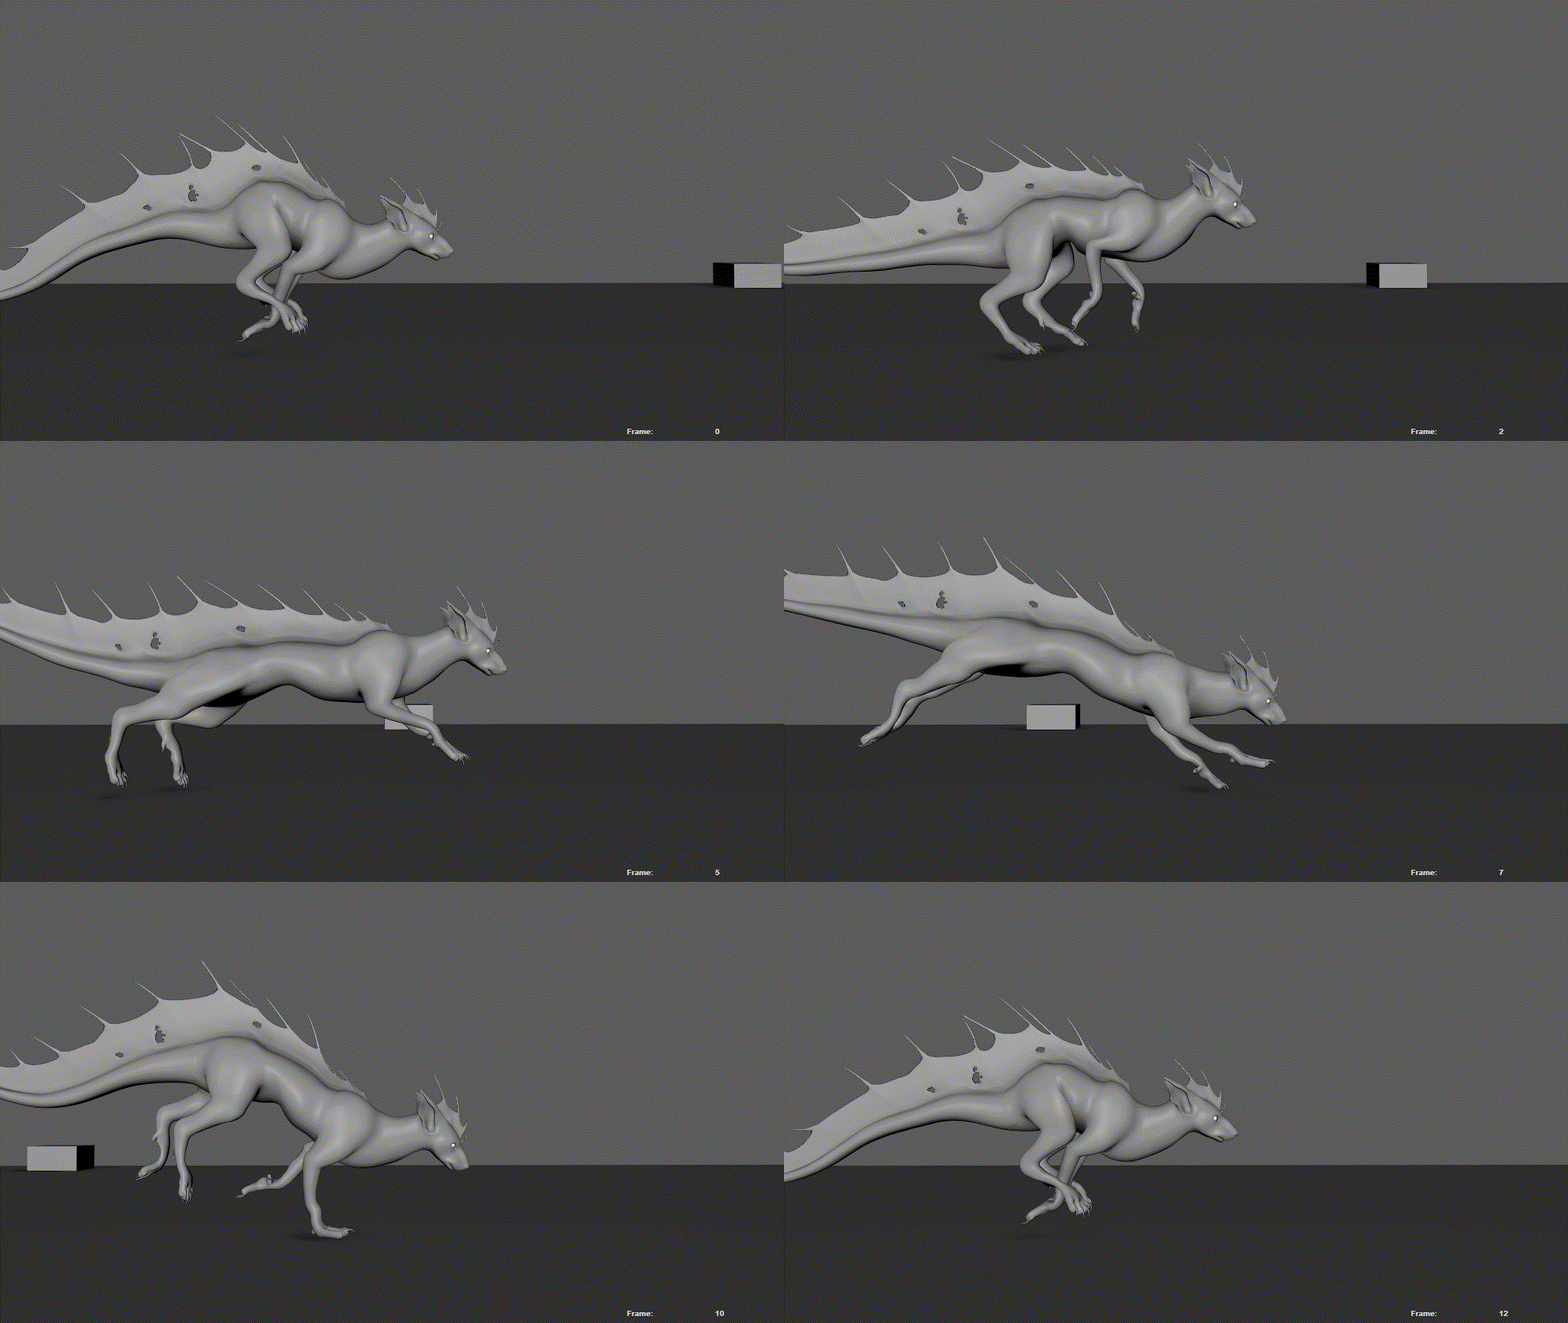
Quick tests with very first versions of the rig
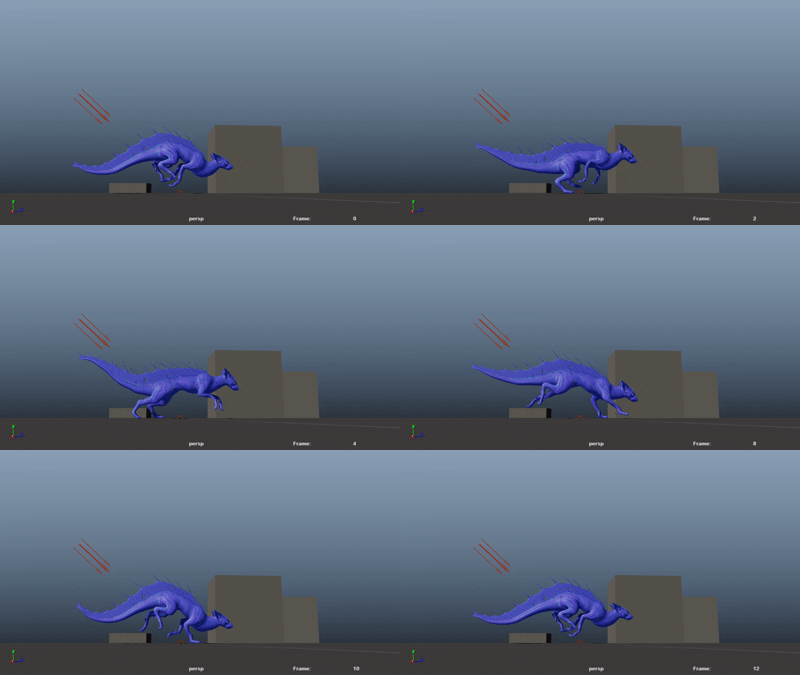
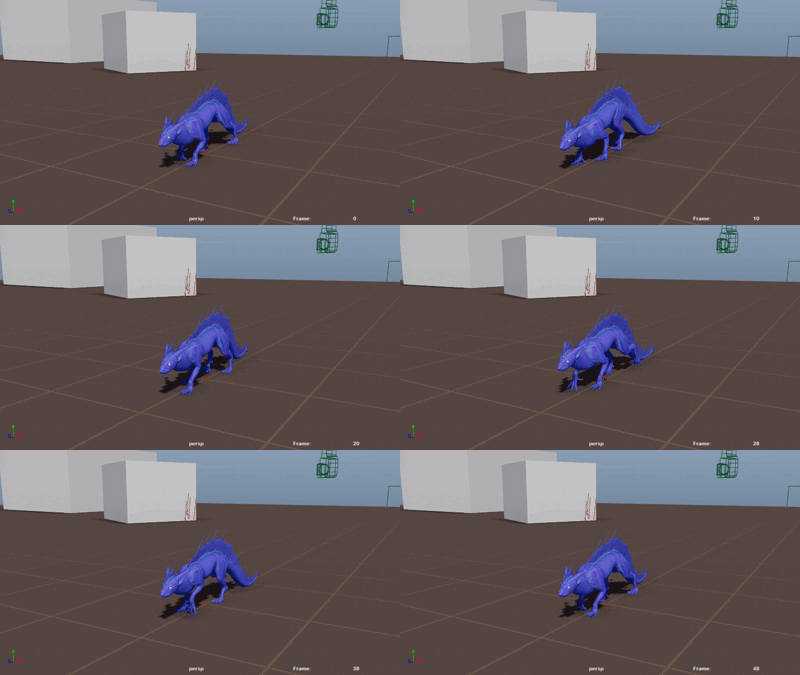
More tests up to the 4th version of the rig - Rig credit: Mattheo Castillo
To create these locomotion cycles while ensuring that the final result would not suffer from foot sliding, I used Anim Layers for the first time.
To do so, I retrieved the creature's maximum movement speed directly from its Blueprint in Unreal Engine. I then applied this value to the rig's TRAJ controller on the Translate Z axis, allowing the creature to move forward at the exact speed it was expected to travel in-game.


I then extracted this forward motion onto a separated Anim Layer. This gave me the ability to quickly enable or disable the layer in Override mode, and view the animation either in place or with its full translation, making it much easier to spot sliding issues and validate the final result.


03_PREPARATION
Following a change in scope, it was decided to replace the original gameplay mechanic of the creature freely roaming with a cinematic encounter taking place inside the caves.
For this new direction, the creature's scale was increased by a factor of four. Both the player and creature rigs also had to go back into production in order to meet the new requirements of a cinematic sequence.
With this new context in mind, I immediately began searching for a new set of references based on the story I wanted to tell between the two characters. Given the creature's new size, I imagined the encounter as a predatory ambush, and I first came across the following illustration, which became the main inspiration for the entire sequence. From there, I gathered additional references.

04_LAYOUT
From there, I was able to start working on a first layout pass.
I exported the latest version of the cave environment from Unreal Engine as an FBX and referenced it directly in Maya. Using simple proxy geometry, I began blocking out camera angles and establishing the staging of the sequence.
This step was also essential to clearly communicate with the rigger what kind of motion the characters would need to perform throughout the cinematic.


This initial layout was then tested directly in-engine using Unreal’s Sequencer. At that stage, I decided to keep my camera animation authored in Maya and also import it into Unreal, a decision I will come back to later in the breakdown.
Thanks to this first layout pass, I was also able to identify and film missing references for Erebus and refine the overall structure, by focusing on how all the actions would connect and flow together.
05_ANIMATION
I started my blocking phase by reusing the locomotion work I had previously made. I decided in that context to experimented with the Vectorify tool made by Ehsan Bayat, which allows you to repath animations. I generated a curve from a TRAJ controller path, snaped that curve onto the new surface, and constrained IKs to follow it using the tools. This was super helpful for speeding up the very early blocking stage for visualisation, but I did not rely on it much later in the process, as the rig evolved too significantly at that point, especially in the spine and overall deformation chain. However, I was still able to reuse and refine previously created leg/finger poses, and I'm quite happy I tried that tool for the first time, I am looking to using this more into my workflow! The collboration with the rigger was intense as we both were new to this kind of context, and using Maya's Reference Editor as well as Studio Library was a must.


For several movements, I chose to work in spline blocking, particularly for Erebus's rolls. After multiple blocking passes, I had to focus mainly on Erebus for a while due to complications with the creature rig. During this period, I worked by splitting the overall anim into separate sections and regularly tested everything in Unreal Engine to check the updating surface interaction.


Once the creature rig became stable, I shifted my focus back to the monster, establishing most of its spacing based on Erebus’ movements, which were already more advanced at that stage.
Here is a first preview with sound. Additional camera adjustments were made from feedback of professional animators I asked. Inside the Sequencer, I animated the focal length to zoom and out, to add more dynamism to the fight.


The final spline passes were extremely short. At that stage, I mainly focused on the overall action, working with the limited time remaining to bring the project to completion.
The final moments of pure animation work were dedicated to the creature.

At this point, I made the decision to shift my focus to Unreal Engine and refine the camera work directly in-engine. I implemented camera shakes on impacts using the existing Blueprint system, with the intention of improving the dynamism through camera motion.
I also added procedural noise to the camera animation to break its linear feel and improve overall energy. More generally, I cleaned and adjusted animation curves directly in Unreal, taking advantage of its native tools for tweening and smoothing.
This is also when I handled the lighting and post-processing of the sequence, in preparation for the optimization pass required for real-time rendering. Minor contact fixes had to be added at the very last minute due to changes in the ground colliders.
This leads us to the final result:
06_FINAL TOUGHTS
To conclude this breakdown, this sequence is still something I am actively working on and refining. Some of the issues I did not have time to fully address during production are still being corrected, as I continue to push the polish further.
To support this process, I reached out for feedback from a senior creature animator, which led to a new round of notes and targeted improvements planned for this sequence.

Overall, I am still very satisfied with what this project allowed me to explore. It was a valuable opportunity to experiment, to fail, and to learn a lot across different stages of production, and under fast paced conditions. Being the only animator was harsh but allowed me to learn a lot by my own.
I am now comfortable working directly in Unreal Engine not only for gameplay integration, but also for cinematic animation workflows, which was a major step forward for me on this project!